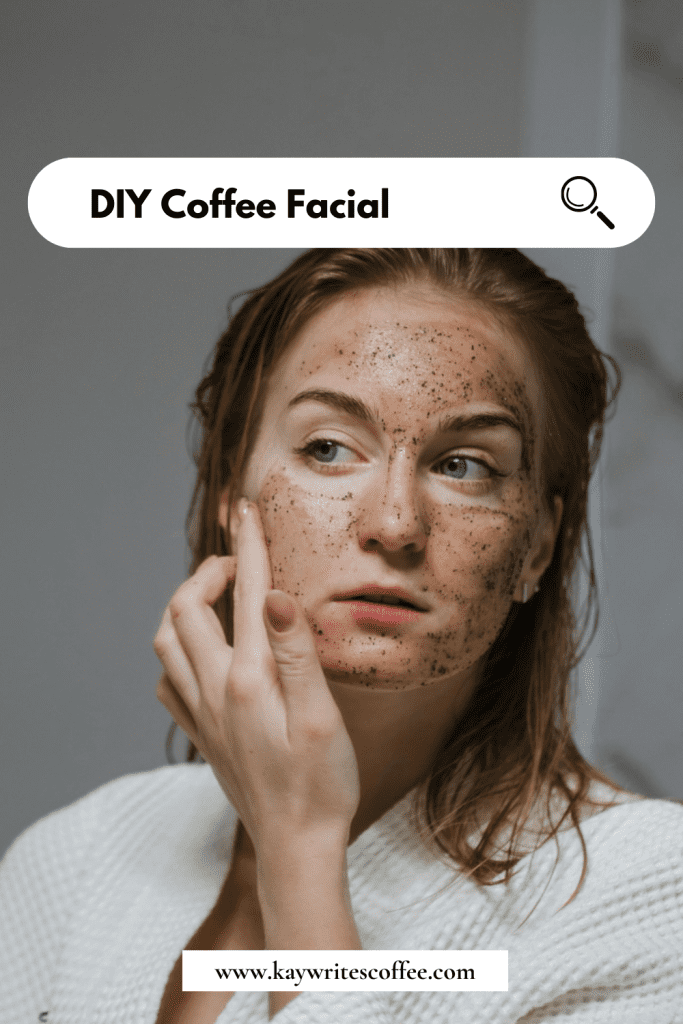
DIY Coffee Skin Care at Home.
Is your skin feeling dull and puffy? It looks like you haven’t slept in days.
It’s the workload, constant stress, or lack of sleep, but your skin is suffering.
You don’t have the energy or the resources to get expensive facial treatments at clinics.
But you worry about your skin…
and you want to do something natural that revives it, keeps it clean and supple, and gives you that effortless clean-girl energy.
No worries… I have a low-effort, step-by-step coffee facial you can do at home to rejuvenate your skin.
Table of Contents
DIY Coffee Skin Care
Coffee facial at home
The coffee grounds are recognized for their anti-inflammatory properties.
Coffee is an antioxidant that:
- protects the skin from free radicals
- brightens skin
- uplifts your face and
- rejuvenates the skin cells.
DIY coffee skin care protects the skin against free radicals.
The caffeine in coffee improves your skin’s appearance and helps keep it healthy.
It is also a great exfoliator that helps reduce pigmentation, and tan, brightening the skin.
Coffee is one solution for many skin problems.
It is exciting to get flawless skin right at home, isn’t it?
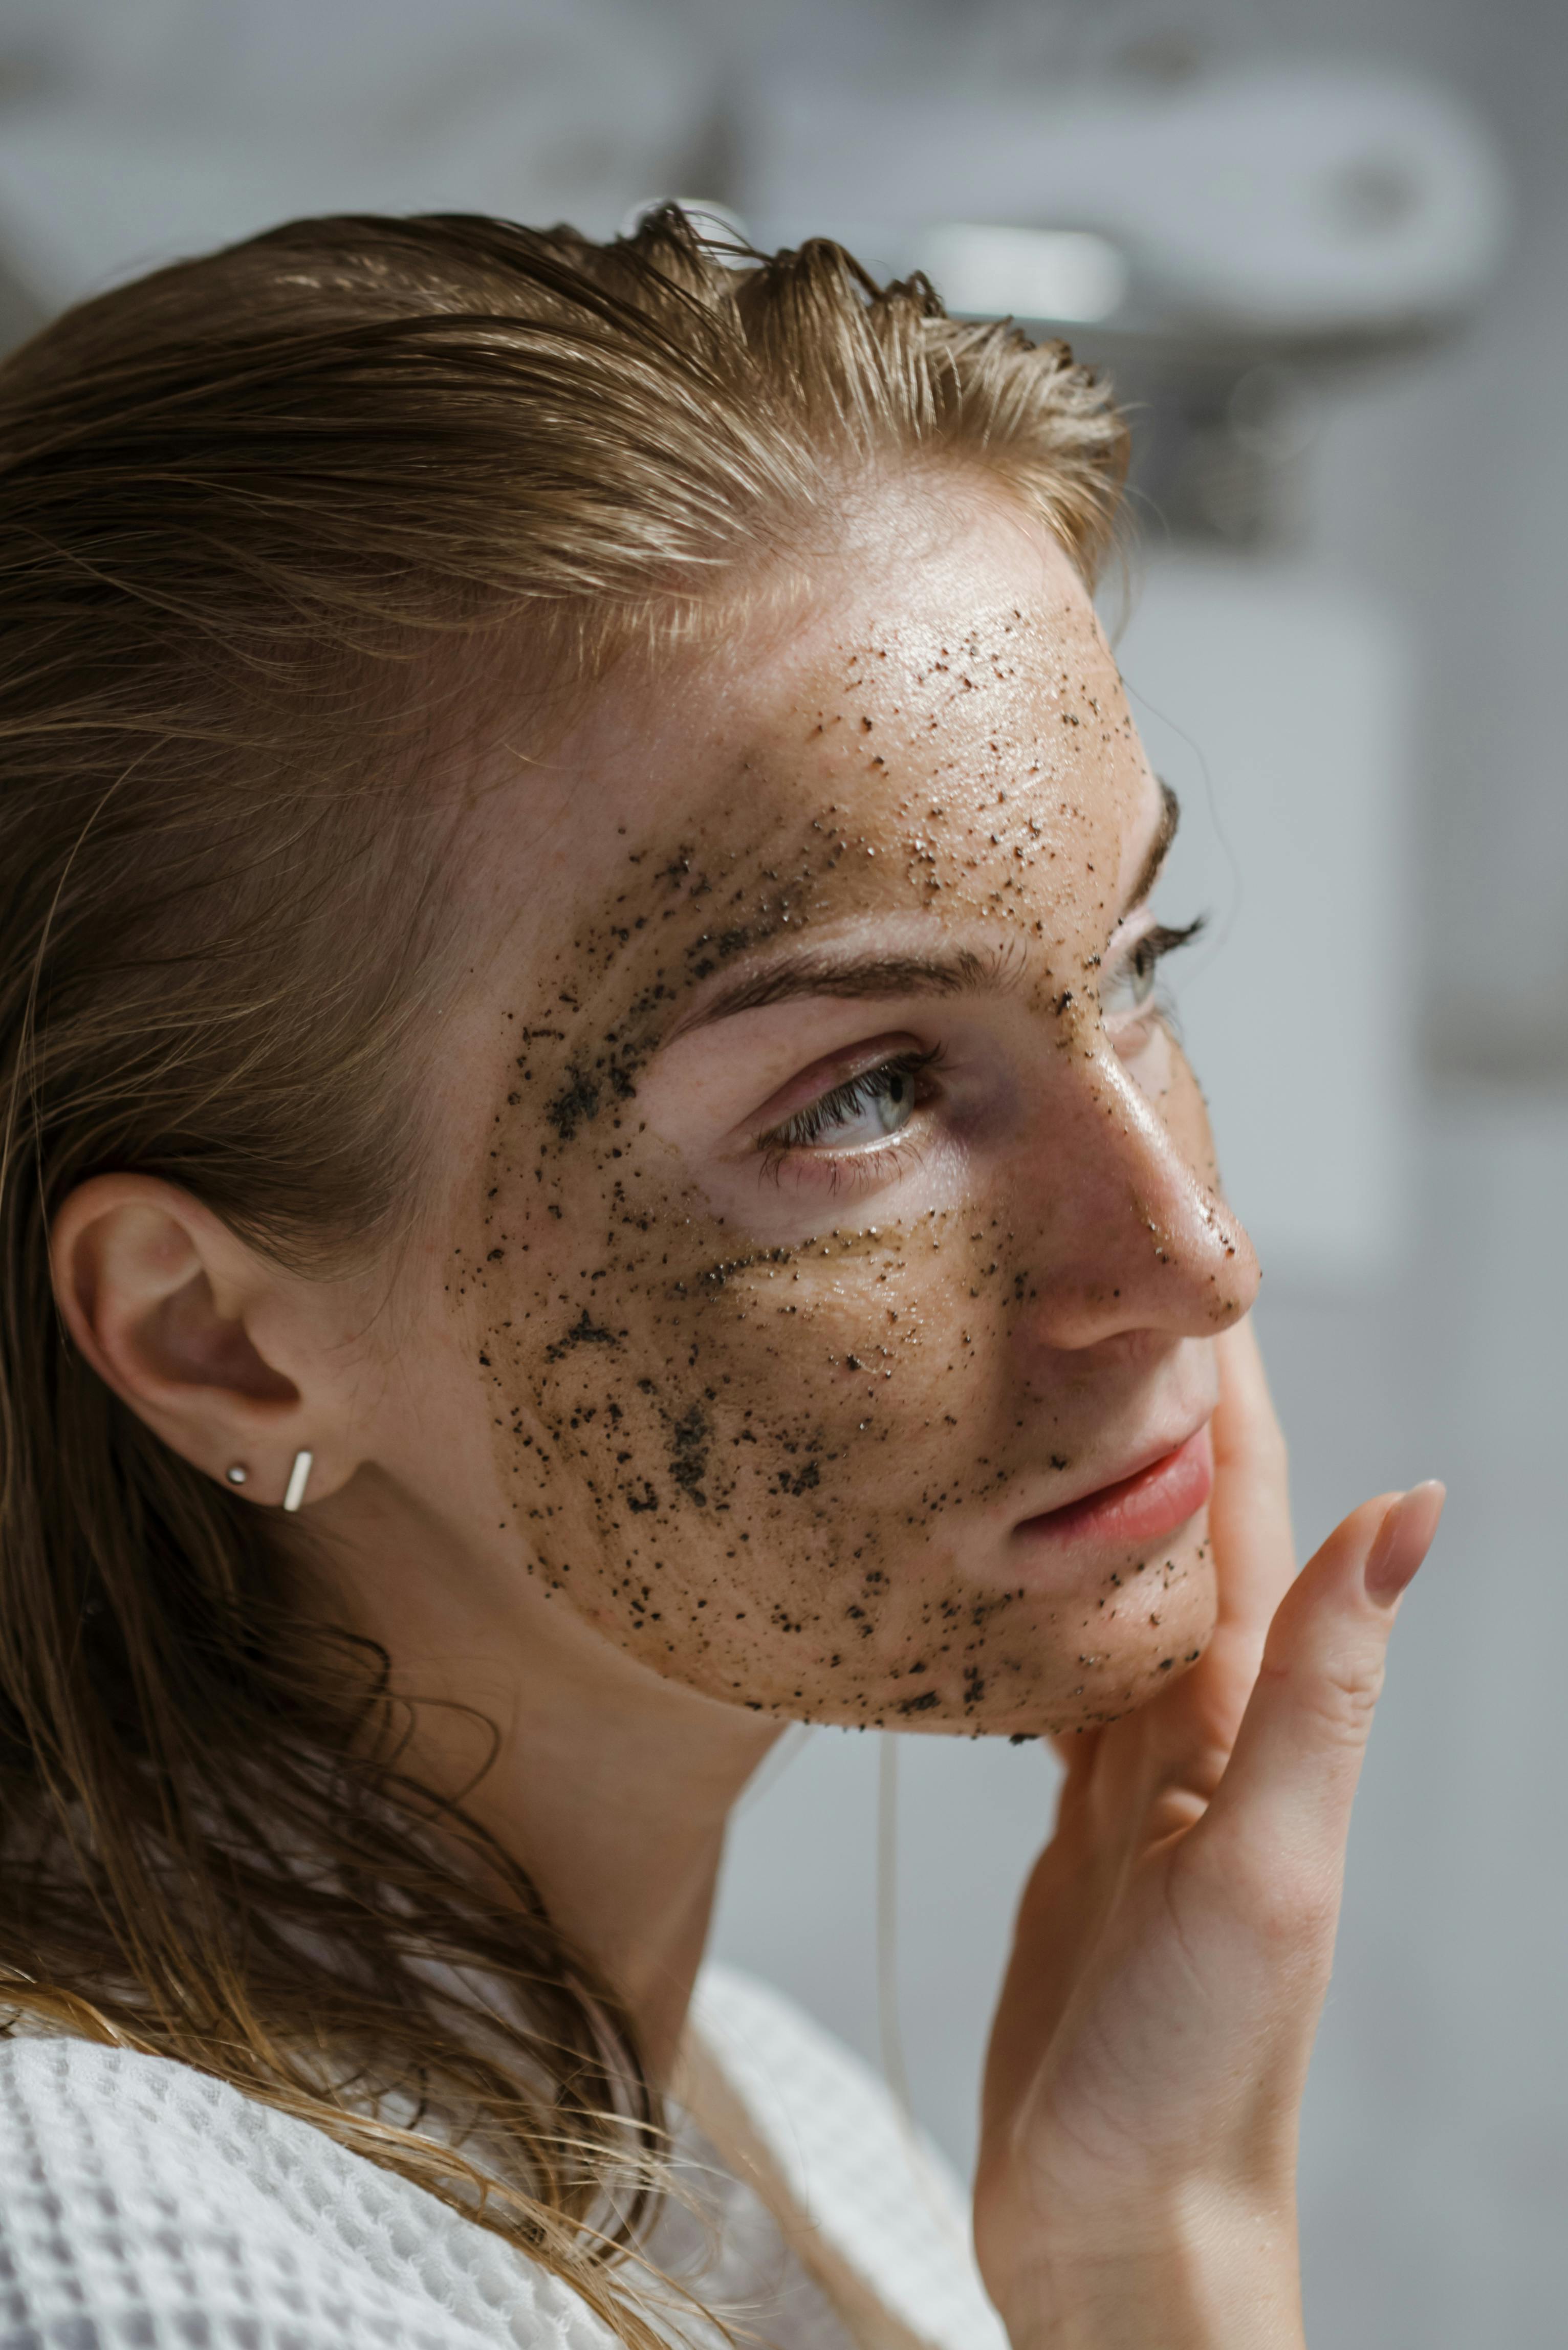
My Experience Using a Coffee Facial at Home
I was out of my usual cleanser and had my leftover coffee grounds lying around.
I thought, why not make DIY skincare out of these, because let’s be real, coffee is rich in antioxidants that are great for skin.
And the thought of the smell of coffee on my skin alone lured me to create this simple facial that turned out to be the elixir to refreshing my skin.
Before trying the coffee facial, my skin felt dull and slightly puffy, especially around the cheeks and under-eye area.
So yeah, I recommend it if you need glowy, clean, and supple skin on a budget.
During Application
The texture of this facial is grainy, but okay to use, and it didn’t feel harsh on my skin.
The smell… is duh… DIVINE.
The feeling on the skin is better than a typical DIY mask.
And I got immediate results.
After rinsing off after each (because I prefer that to using a towel), my skin was fresher and smoother with a temporary glow.
Now I use it every week, and using it once a week worked best for me.
Over time, my skin feels less rough and softer and smoother.
Always Do a Patch Test First
DIY skincare has a different effect on everyone.
And, DIY coffee skincare ingredients can affect everyone differently, especially if you have sensitive skin types.
So a patch test is important before you apply anything to your face.
How to Patch Test
- Apply a small amount of coffee cleanser or mask behind the ear or inner arm.
- Wait for 24 hours.
- Watch for redness, itching, or irritation.
- If no irritation occurs and no allergy arises, it’s safe to use.
- If there’s redness, itching, or irritation, don’t use it.
Important Note
Stop using the facial immediately if you notice burning, irritation, or prolonged redness.
Bonus Tip
Also, to avoid scrubbing aggressively because coarse coffee grounds can damage the skin barrier if you overuse them or apply excess pressure.
Which Skin Types Benefit Most From a Coffee Facial?
Oily Skin
It’s good for oily skin because coffee exfoliates the dead skin cells and dirt from your skin, and it also removes the oil buildup on the surface of the skin.
Dry Skin
For dry skin, I recommend adding honey, yogurt, or aloe vera (which also comes later in the article) to give it a moisturizing effect.
Mixing coffee with honey or yogurt can make the mask feel more hydrating and less abrasive.
Sensitive Skin
I recommend that you be cautious and not use it until you have asked your dermatologist and are 100% sure that it won’t hurt your skin.
Sensitive skin types should avoid aggressive scrubbing because coffee grounds can feel too rough if overused.
Combination Skin
People with combination skin can benefit from applying the mask mainly to oily areas like the T-zone to reduce the oils there.
But, if you prefer and have no allergies to coffee, you can use it on your full face.
Acne-Prone Skin
Be careful and realistic.
Coffee facials are not an acne treatment.
Where gentle exfoliation may help some people reduce surface buildup temporarily, it can be harmful too.
So I don’t recommend it if you have acne.
Now, let’s get into the DIY coffee skincare.
Here, for you, is a complete, step-by-step DIY coffee facial guide to help you get brighter, healthier-looking skin.
DIY Coffee Facial at home for clean and glowing skin.
How to do a Coffee Facial at Home
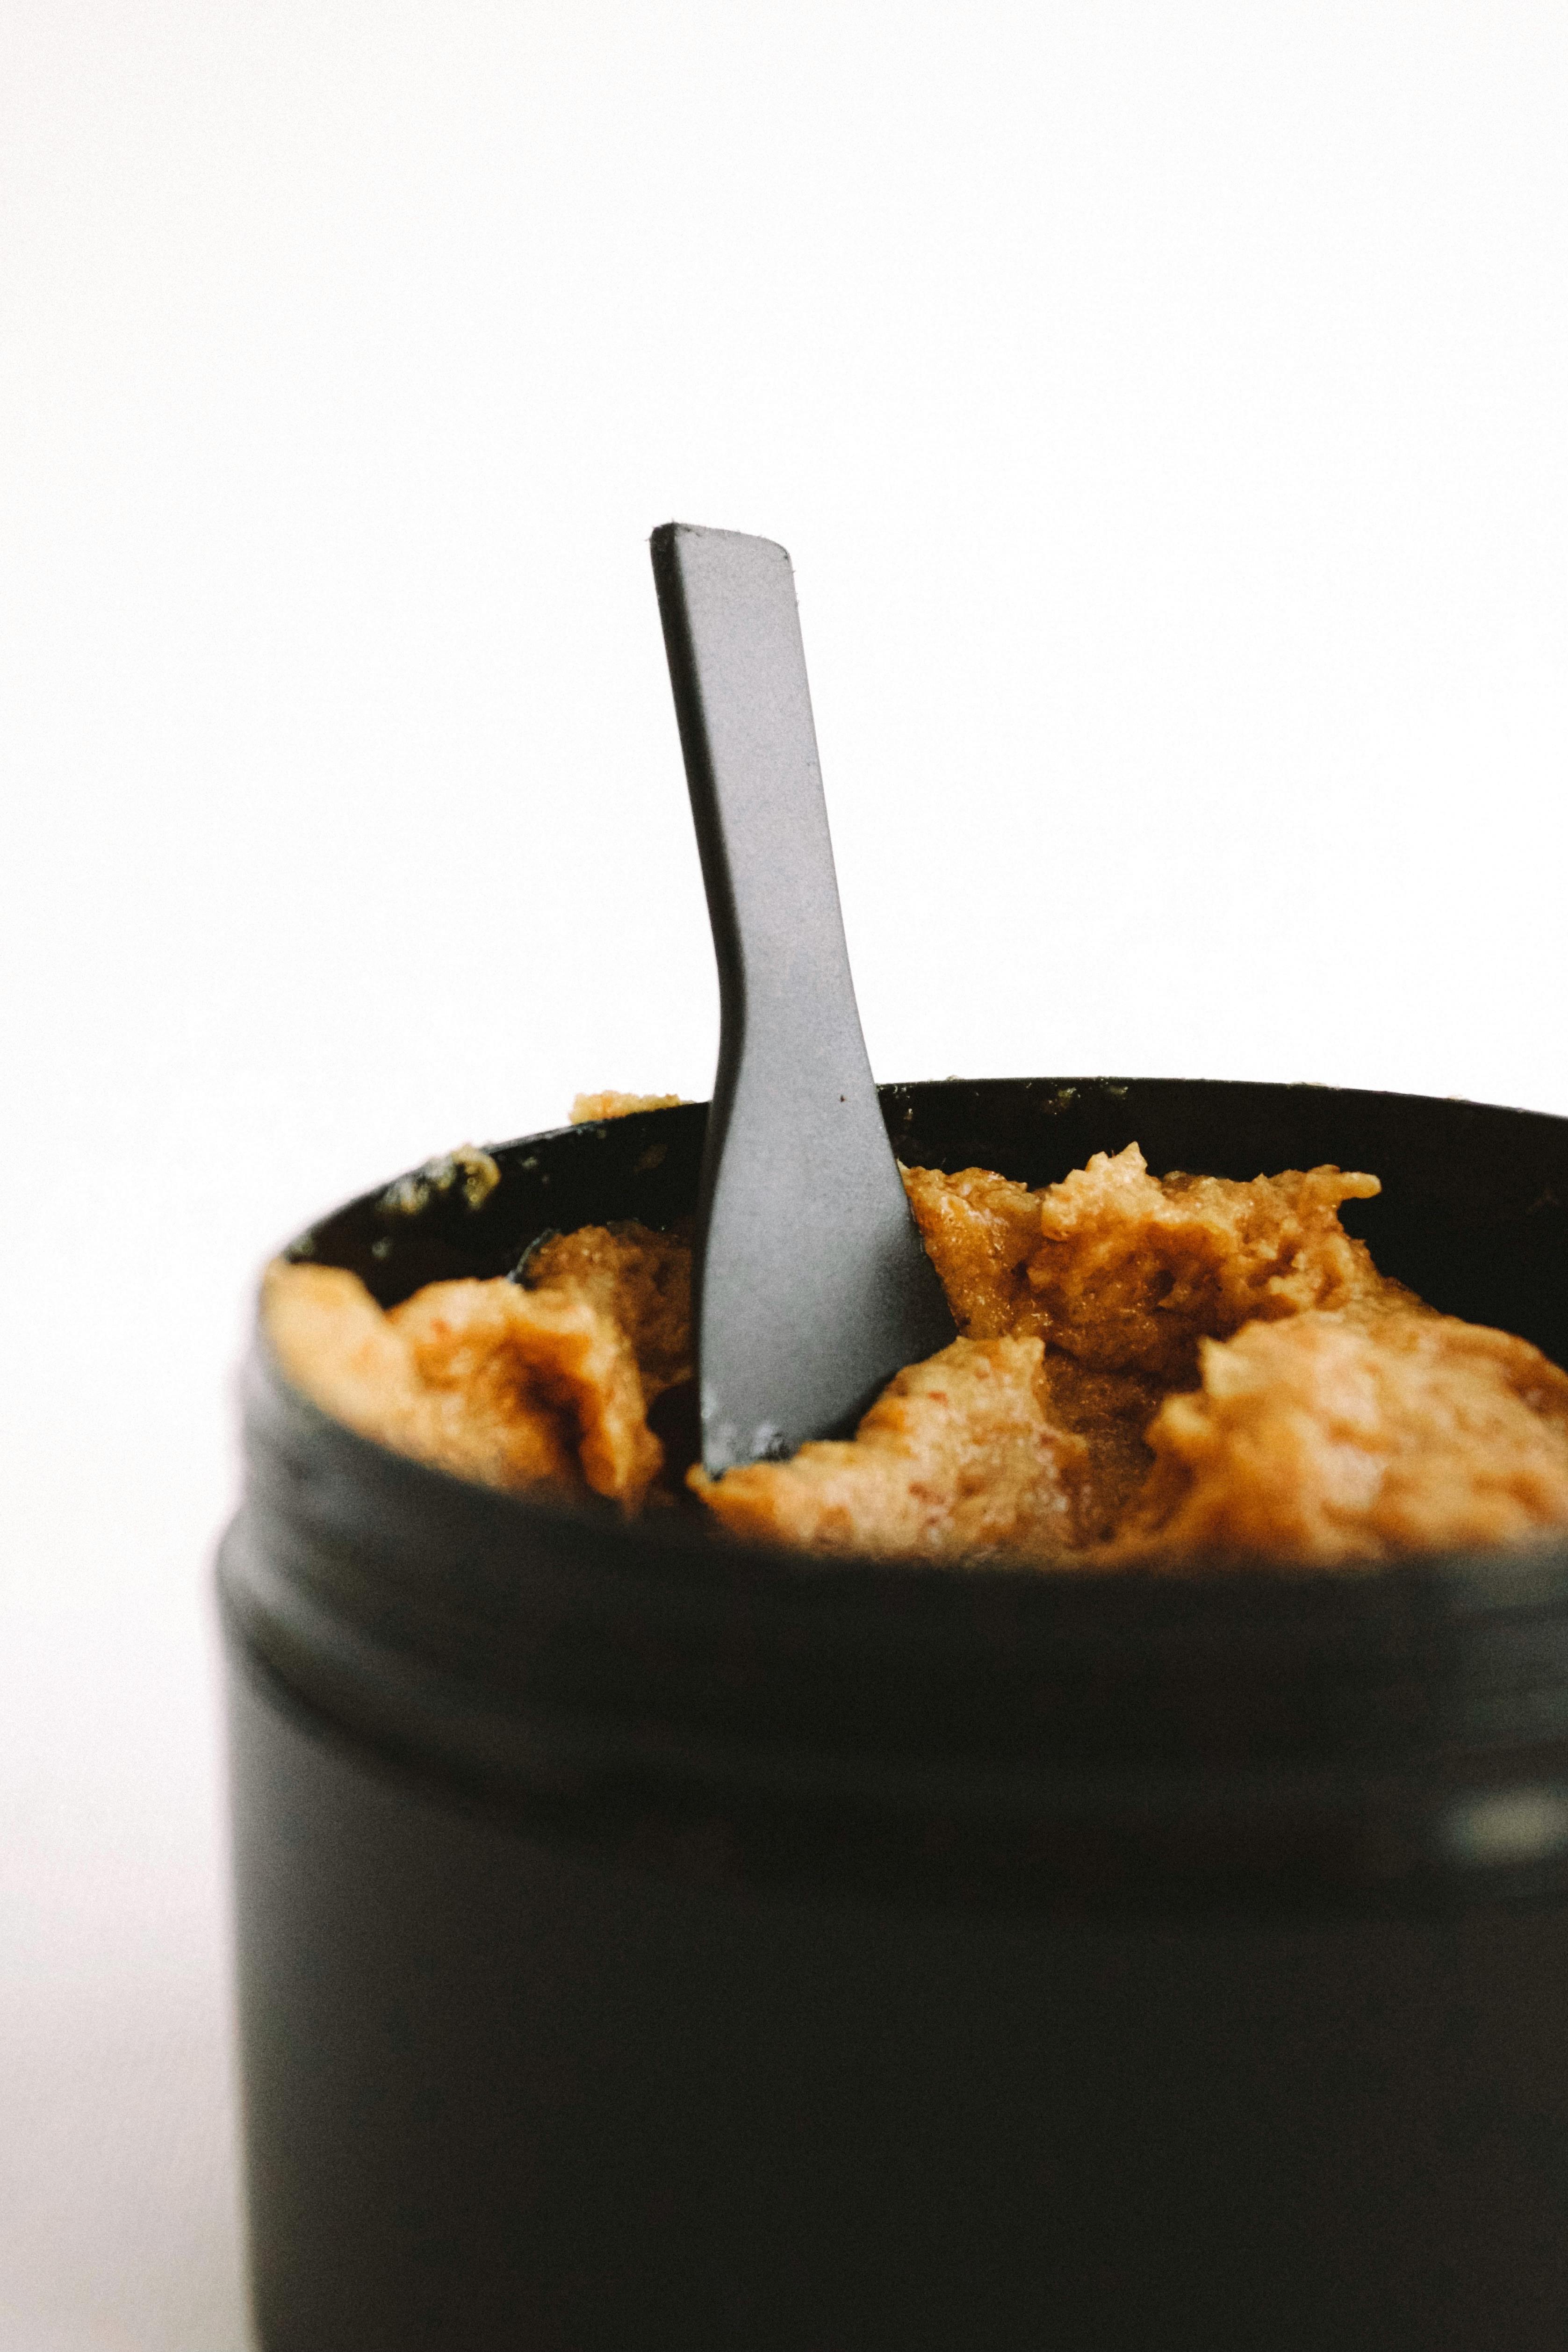
When you brew your coffee in the morning, don’t throw the grounds away; instead, store them in a jar in the fridge.
Do this simple coffee facial at home using your used coffee grounds to get the most benefits from DIY coffee skin care.

Ingredients You Need for the Coffee Facial!
- Coffee grounds (used or unused)
- Aloe Vera Gel (if you don’t have aloe vera gel, then go with baking soda)
- Earth fuller (Multani Mitti)
- Sandalwood powder
- Milk
- Massage cream or gel
- Toner
- Lemon juice
- Vitamin E Capsules
Coffee Facial Step 1: CLEANSING
Cleansing is the first step of a facial.
It removes dirt, excess oil, and other impurities while cleansing the skin.
Before you start cleaning, wash your face with a cleanser.
How To Make Coffee Cleanser
All you need for this simple cleansing method is coffee powder and Aloe Vera gel.
- Take one tablespoon of grounded coffee powder in a bowl.
- Add 2 tablespoons of aloe vera gel and mix well.
Apply this cleanser to your face and massage it in slow, light, circular motions for about 2 minutes.
Read: Surprising Coffee Uses: From Skincare to Cleaning Hacks
After two minutes, wash it off with normal water.
If you’re out of Aloe Vera gel, you can use half a spoonful of baking soda instead.

Coffee Facial Step 2: STEAMING
Steaming your skin opens your pores and removes dirt.
It softens your blackheads, making them easier to remove through exfoliation.
How To Steam
- Bring water to a boil.
- Add essential oils to it. (If you don’t have any, add tea bags to it.)
- Drape a towel over your head so that it drops down on both sides of your face, trapping the steam.
- Place your face close to the steaming water to feel it massage your face, but not so close that your skin burns or you have trouble breathing in fresh air.
- Steam your face for about five to eight minutes.
- Wash your face with ice-cold water to close the pores and to hydrate your skin.
Coffee Facial Step 3: SCRUBBING
The next step is scrubbing. Scrubbing helps make the skin smooth, soft, and shiny by removing dead skin cells and exfoliating the skin.
How To Make Coffee Scrub
- In a bowl, mix 1 tablespoon of sugar with 1 tablespoon of coffee.
- Add 2 tablespoons of coconut oil to the mixture to dampen it, then stir well.
- Add one Vitamin E capsule to it.
- Now gently scrub this mixture in circular motions on your face for about 5-6 minutes.
- After 5 minutes, then wash it off with cold water.
The coffee scrub benefits for the skin are endless, and there are additional benefits of a coffee body scrub.
This scrub will help remove dead skin cells, leaving your skin soft and glowing.

Coffee Facial Step 4: MASSAGING
After scrubbing with DIY coffee skin care, it is important to moisturize and soothe your skin.
How To Massage
- Take a massage cream or gel.
- Massage your skin for at least 6 minutes until the cream is fully absorbed.
- Wash your face with normal water and dry it with a cloth or paper towel.
Coffee Facial Step 5: FACE PACK/MASK
This step is for the face mask.
You are just one step away from having that brighter and glowing skin.
A face mask is the most crucial step in a facial.
Face masks help remove dirt and other impurities, improving the overall appearance of the skin.
How To Make a Coffee Mask
Here are a few coffee-based face masks!
Coffee And Honey Face Mask
- Add one tablespoon of coffee powder into a bowl.
- Add 1 tablespoon of honey and mix well into the coffee.
- Apply the mask to your face.
- Let it dry for 15 minutes, then rinse it off.
Honey contains moisturizing agents that, when mixed with the coffee, can keep your skin moisturized and glowing.

Coffee And Aloe Vera Mask
- Take a tablespoon of coffee powder, add a few drops of lemon, and form a fine paste.
- Apply this to your face and neck.
- Leave it on for about 20 minutes, then rinse it off.
Lemon contains vitamin C, which helps remove excess dirt from the skin, making it look cleaner and healthier.
Note: Don’t add more than 2-3 drops if you have sensitive skin.

Coffee And Milk Face Mask
- Mix 1 tablespoon of coffee powder with 1 tablespoon of milk to make a thick paste.
- Apply this paste to your face and leave it on for 20 minutes.
- After 20 minutes, rinse it off by gently rubbing it in a slow, circular motion.
Milk contains certain agents that help increase your skin’s glow.
Coffee And Sandalwood Face Mask
- Take half a teaspoon of coffee grounds and place them in a bowl.
- Add half a tablespoon of earth fuller powder.
- Add half a tablespoon of sandalwood powder.
- Add one tablespoon of milk and make a thick paste. (You can also use curd if you’re out of milk)
- Apply it to your face and keep it for about 15-20 minutes.
After 20 minutes, rinse your face, pat dry, and moisturize completely.
his Coffee Facial Works Best For
- If you have dull-looking skin and temporary puffiness.
- It’s good as a gentle weekly exfoliation.
- Good quick self-care routine.
- For people who enjoy DIY skincare.
Coffee Facial Is Not Ideal For:
- If you have very sensitive skin.
- Active acne flare-ups.
- If you have broken skin.
- If you have eczema-prone skin or rosacea-prone skin.
How Often Should You Use a Coffee Facial?
Over-exfoliating may leave skin feeling irritated or dry.
So, for most people and skin types, once a week is usually enough.
FAQs
Can coffee brighten skin temporarily?
Yes, coffee can brighten skin as it has caffeine and other antioxidants that help reverse aging and make your skin brighter.
Is coffee good for oily skin?
Yes, coffee is good for oily skin. It exfoliates skin and removes dead skin cells, takes away excess oil buildup ,and removes dirt.
Can I use instant coffee for a facial?
Yes, you can use instant coffee for a facial, and you can also use used coffee grounds for a facial.
How often should I use a coffee scrub?
You should use a coffee scrub once a week if it suits your skin and doesn’t cause irritation, redness, or allergies. However, always patch test before you put anything on your skin.
Can coffee facials irritate sensitive skin?
Yes, with over exfoliation it can irritate sensitive skin. Don’t use it if you have sensitive skin, as it may damage it further. If you have sensitive skin and it still suits you, then don’t put too much pressure while doing your facial. Keep your touch light and don’t leave it on your face for too long. 2-3 minutes are enough.
Conclusion
Coffee has many benefits for the skin.
Although it can be harmful if used incorrectly.
- Don’t scrub your skin too harshly, as it can irritate.
- Don’t do this if it causes an allergy or skin itching.
- If you have an allergy to any ingredients mentioned above, replace them with ingredients that suit your skin.
Also, try to focus on eating more fruits and veggies while also keeping your body and skin hydrated.


Hi! I’m Kounj, a freelance writer and a coffee enthusiast with experience of five years in the coffee space. I specialize in email marketing and blog writing for coffee brands and businesses. My niche focus is coffee and health, coffee lifestyle, and coffee wellness. I love writing, and I love coffee, so when you have a coffee + writing problem, I’m the only copywriter you want to contact.
Leave a Reply