Is your skin feeling dull and puffy? Your skin looks like you haven’t slept in days?
It’s the workload, constant stress or lack of sleep, but your skin is suffering.
You don’t have the energy or the resources to get expensive facial treatments at clinics.
But you worry for your skin… and you want to do something that’s natural, revives your skin, makes it clean and supple to have that effortless clean girl energy.

No worries…
Coffee facial at home.
The coffee grounds are recognized for their anti-aging properties and anti-inflammatory properties.
Coffee is an antioxidant that:
- tightens the skin
- protects the skin from free radicals
- helps in reducing fine lines
- uplifts your face and
- rejuvenates the skin cells.
It protects the skin against free radicals and reduces the risk of skin cancer.
The caffeine present in the coffee boosts the appearance of your skin and keep it healthy.
It is also a great exfoliator, which helps in reducing dark spots, pigmentation, skin tan, and makes the skin brighter.
Coffee is one solution for many skin problems.
It is exciting when you can get flawless skin right at your home, isn’t it?
Here, for you, is a complete DIY step-by-step coffee facial guide to get brighter and healthier-looking skin.

How to Coffee Facial at Home
When you brew your coffee in the morning, don’t throw the coffee grounds, in fact, store them in a jar and keep it in the fridge.
Do this simple coffee facial at home using your used coffee grounds.
Ingredients You Need for the Coffee Facial!
- Coffee grounds (used or un)
- Aloe Vera Gel (if you don’t have aloe vera gel, then go with baking soda)
- Earth fuller (Multani Mitti)
- Sandalwood powder
- Milk
- Massage cream or gel
- Toner
- Lemon juice
- Vitamin E Capsules
Coffee Facial Step 1: CLEANSING
Cleansing is the first step of a facial.
It removes dirt, excess oil and other impurities, and cleanses the skin.
Before you start cleaning, you must clean your face with a face wash.
How To Make Coffee Cleanser
All you need for this simple cleansing method are coffee powder and Aloe Vera gel.
- Take one tablespoon of grounded coffee powder in a bowl.
- Add two tablespoons of aloe Vera gel into it and mix both ingredients well.
Apply this cleanser on your face and massage it in a slow, light, circular motion for about two minutes.
Read: Surprising Coffee Uses: From Skincare to Cleaning Hacks
After two minutes, wash it off with normal water.
If you’re out of Aloe Vera gel you can use half a spoon of baking soda as well.

Coffee Facial Step 2: STEAMING
Steaming your skin opens your pores and removes dirt.
It soften your blackheads which then are easier to remove through exfoliation.
How To Steam
- Bring water to boil.
- Add essential oils to it. (If you don’t have any, just add tea bags to it.)
- Drape a towel over your head that it drops down on both sides of your face, trapping the steam.
- Place your face close to the steaming water to feel it massaging your face, but not so close that your skin gets burned or you’re having trouble breathing fresh air.
- Steam your face for about five to eight minutes.
- Wash your face with ice-cold water to close the pores and to hydrate your skin.
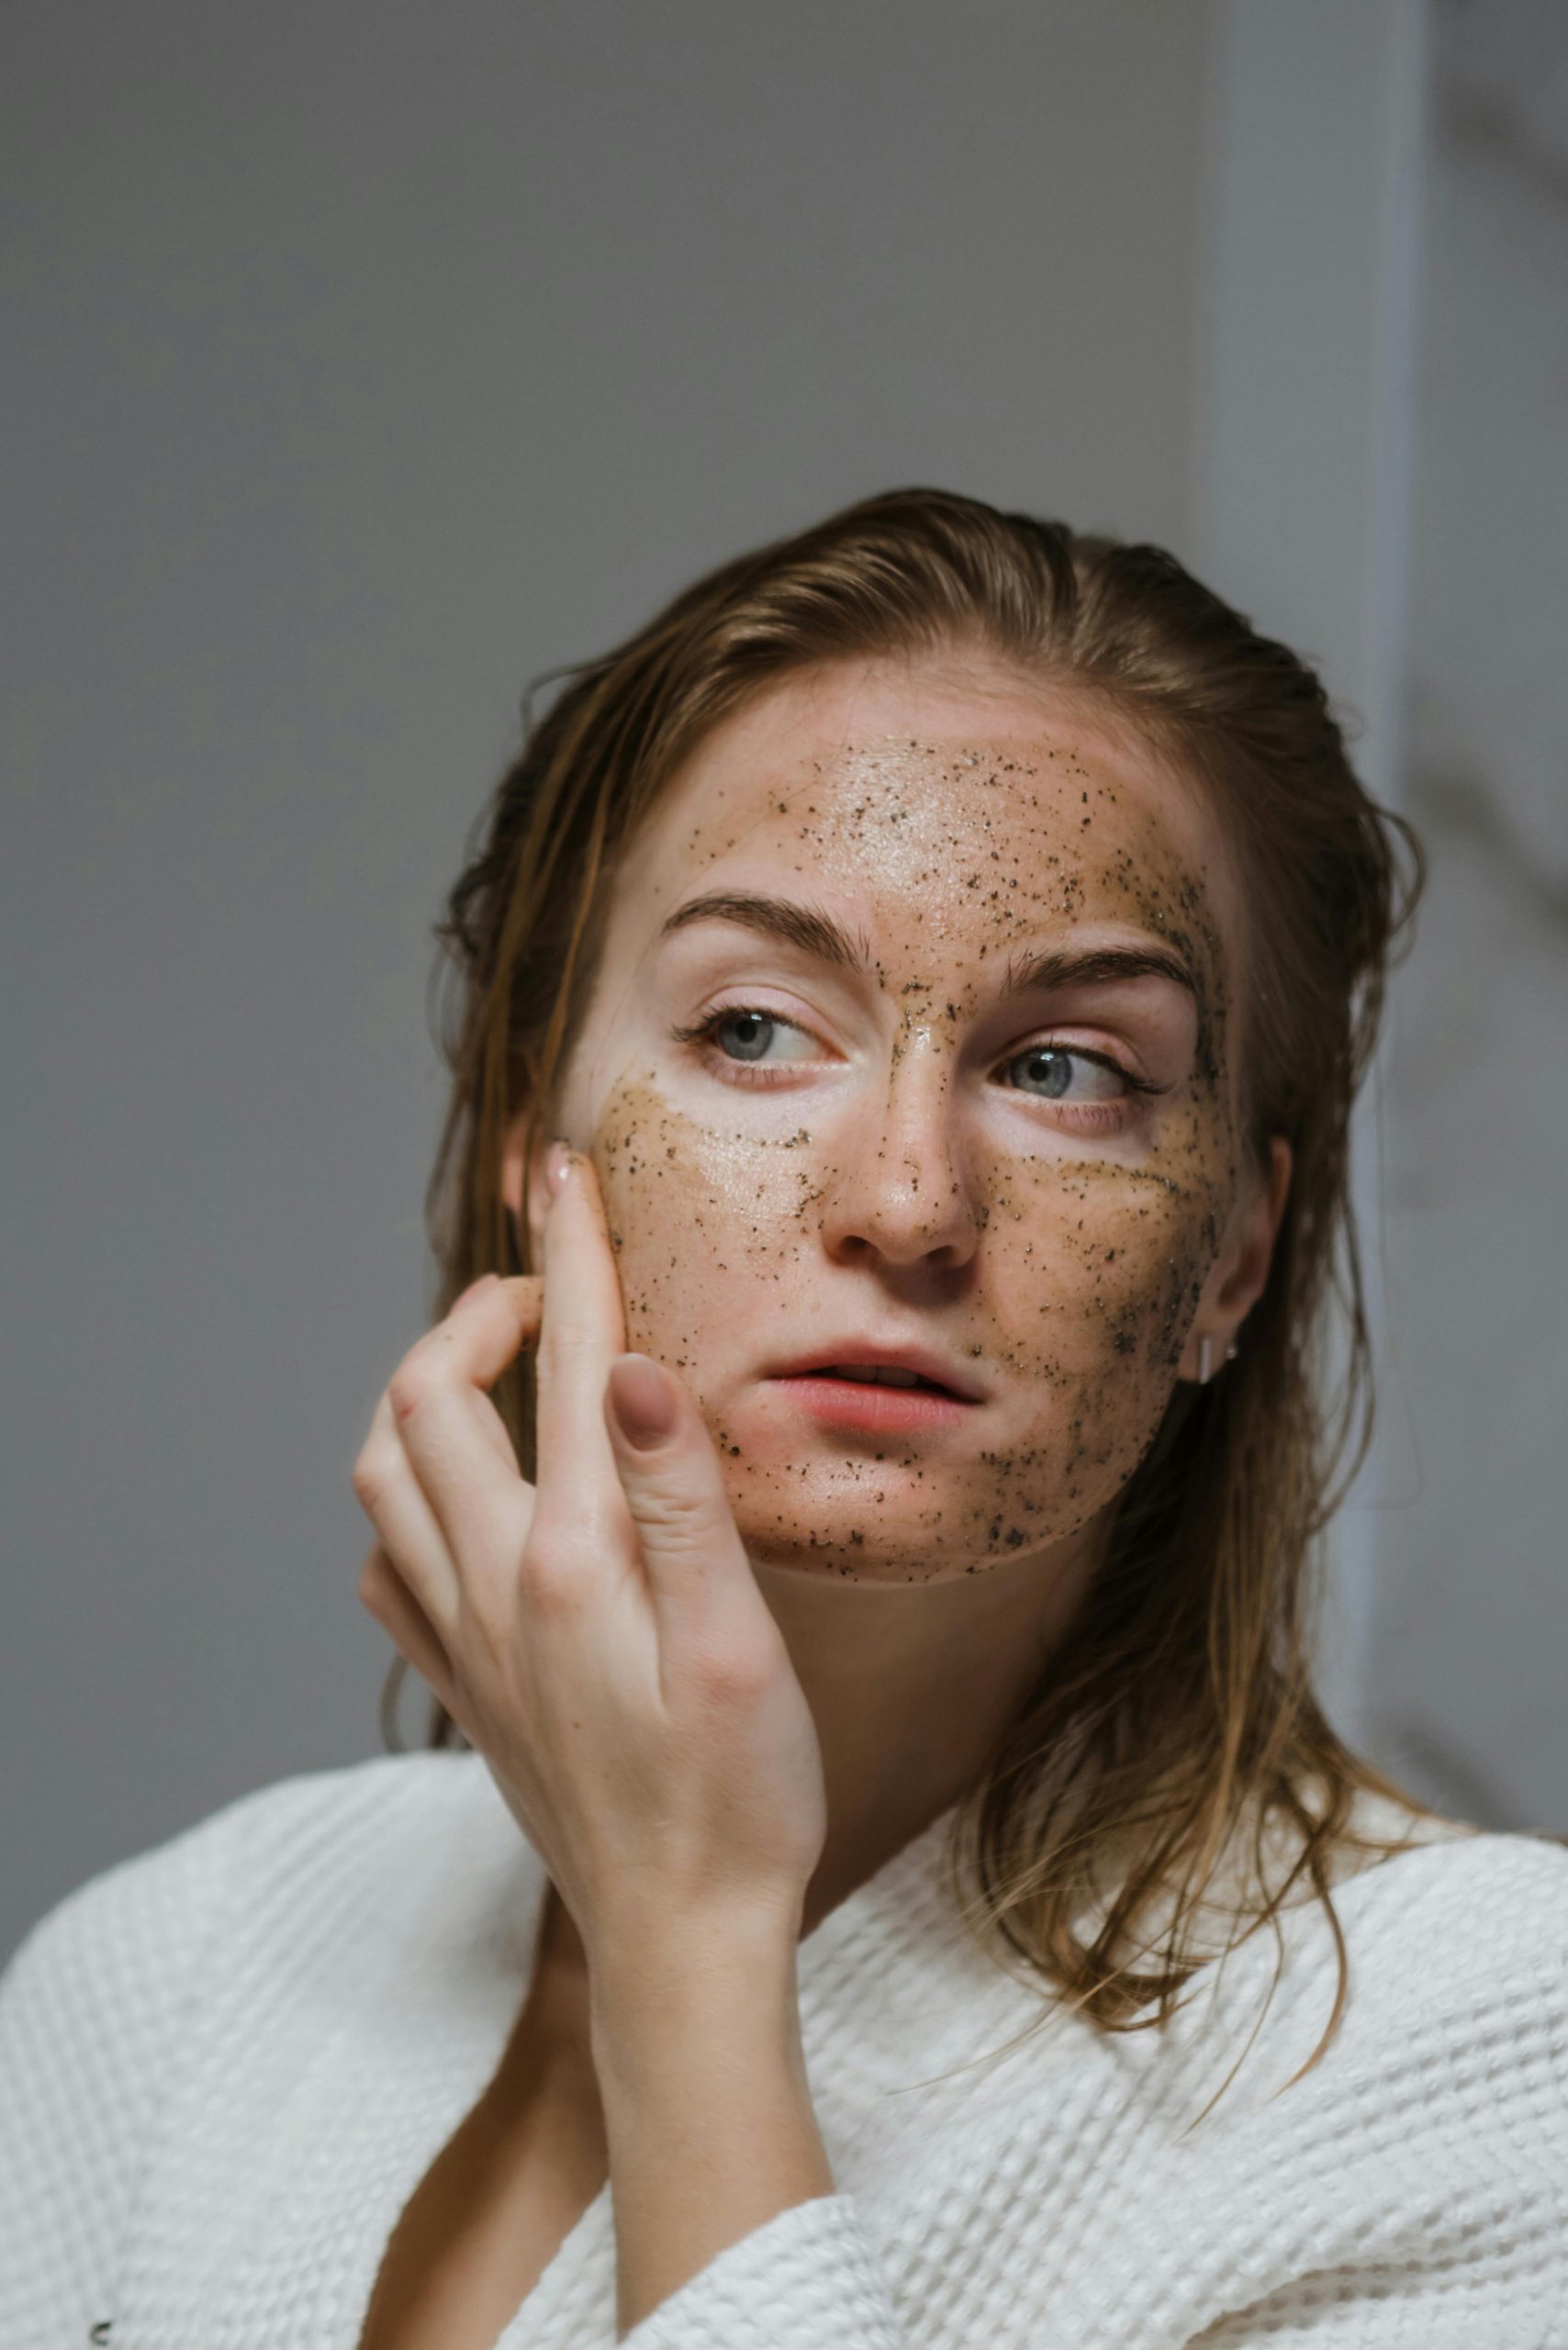
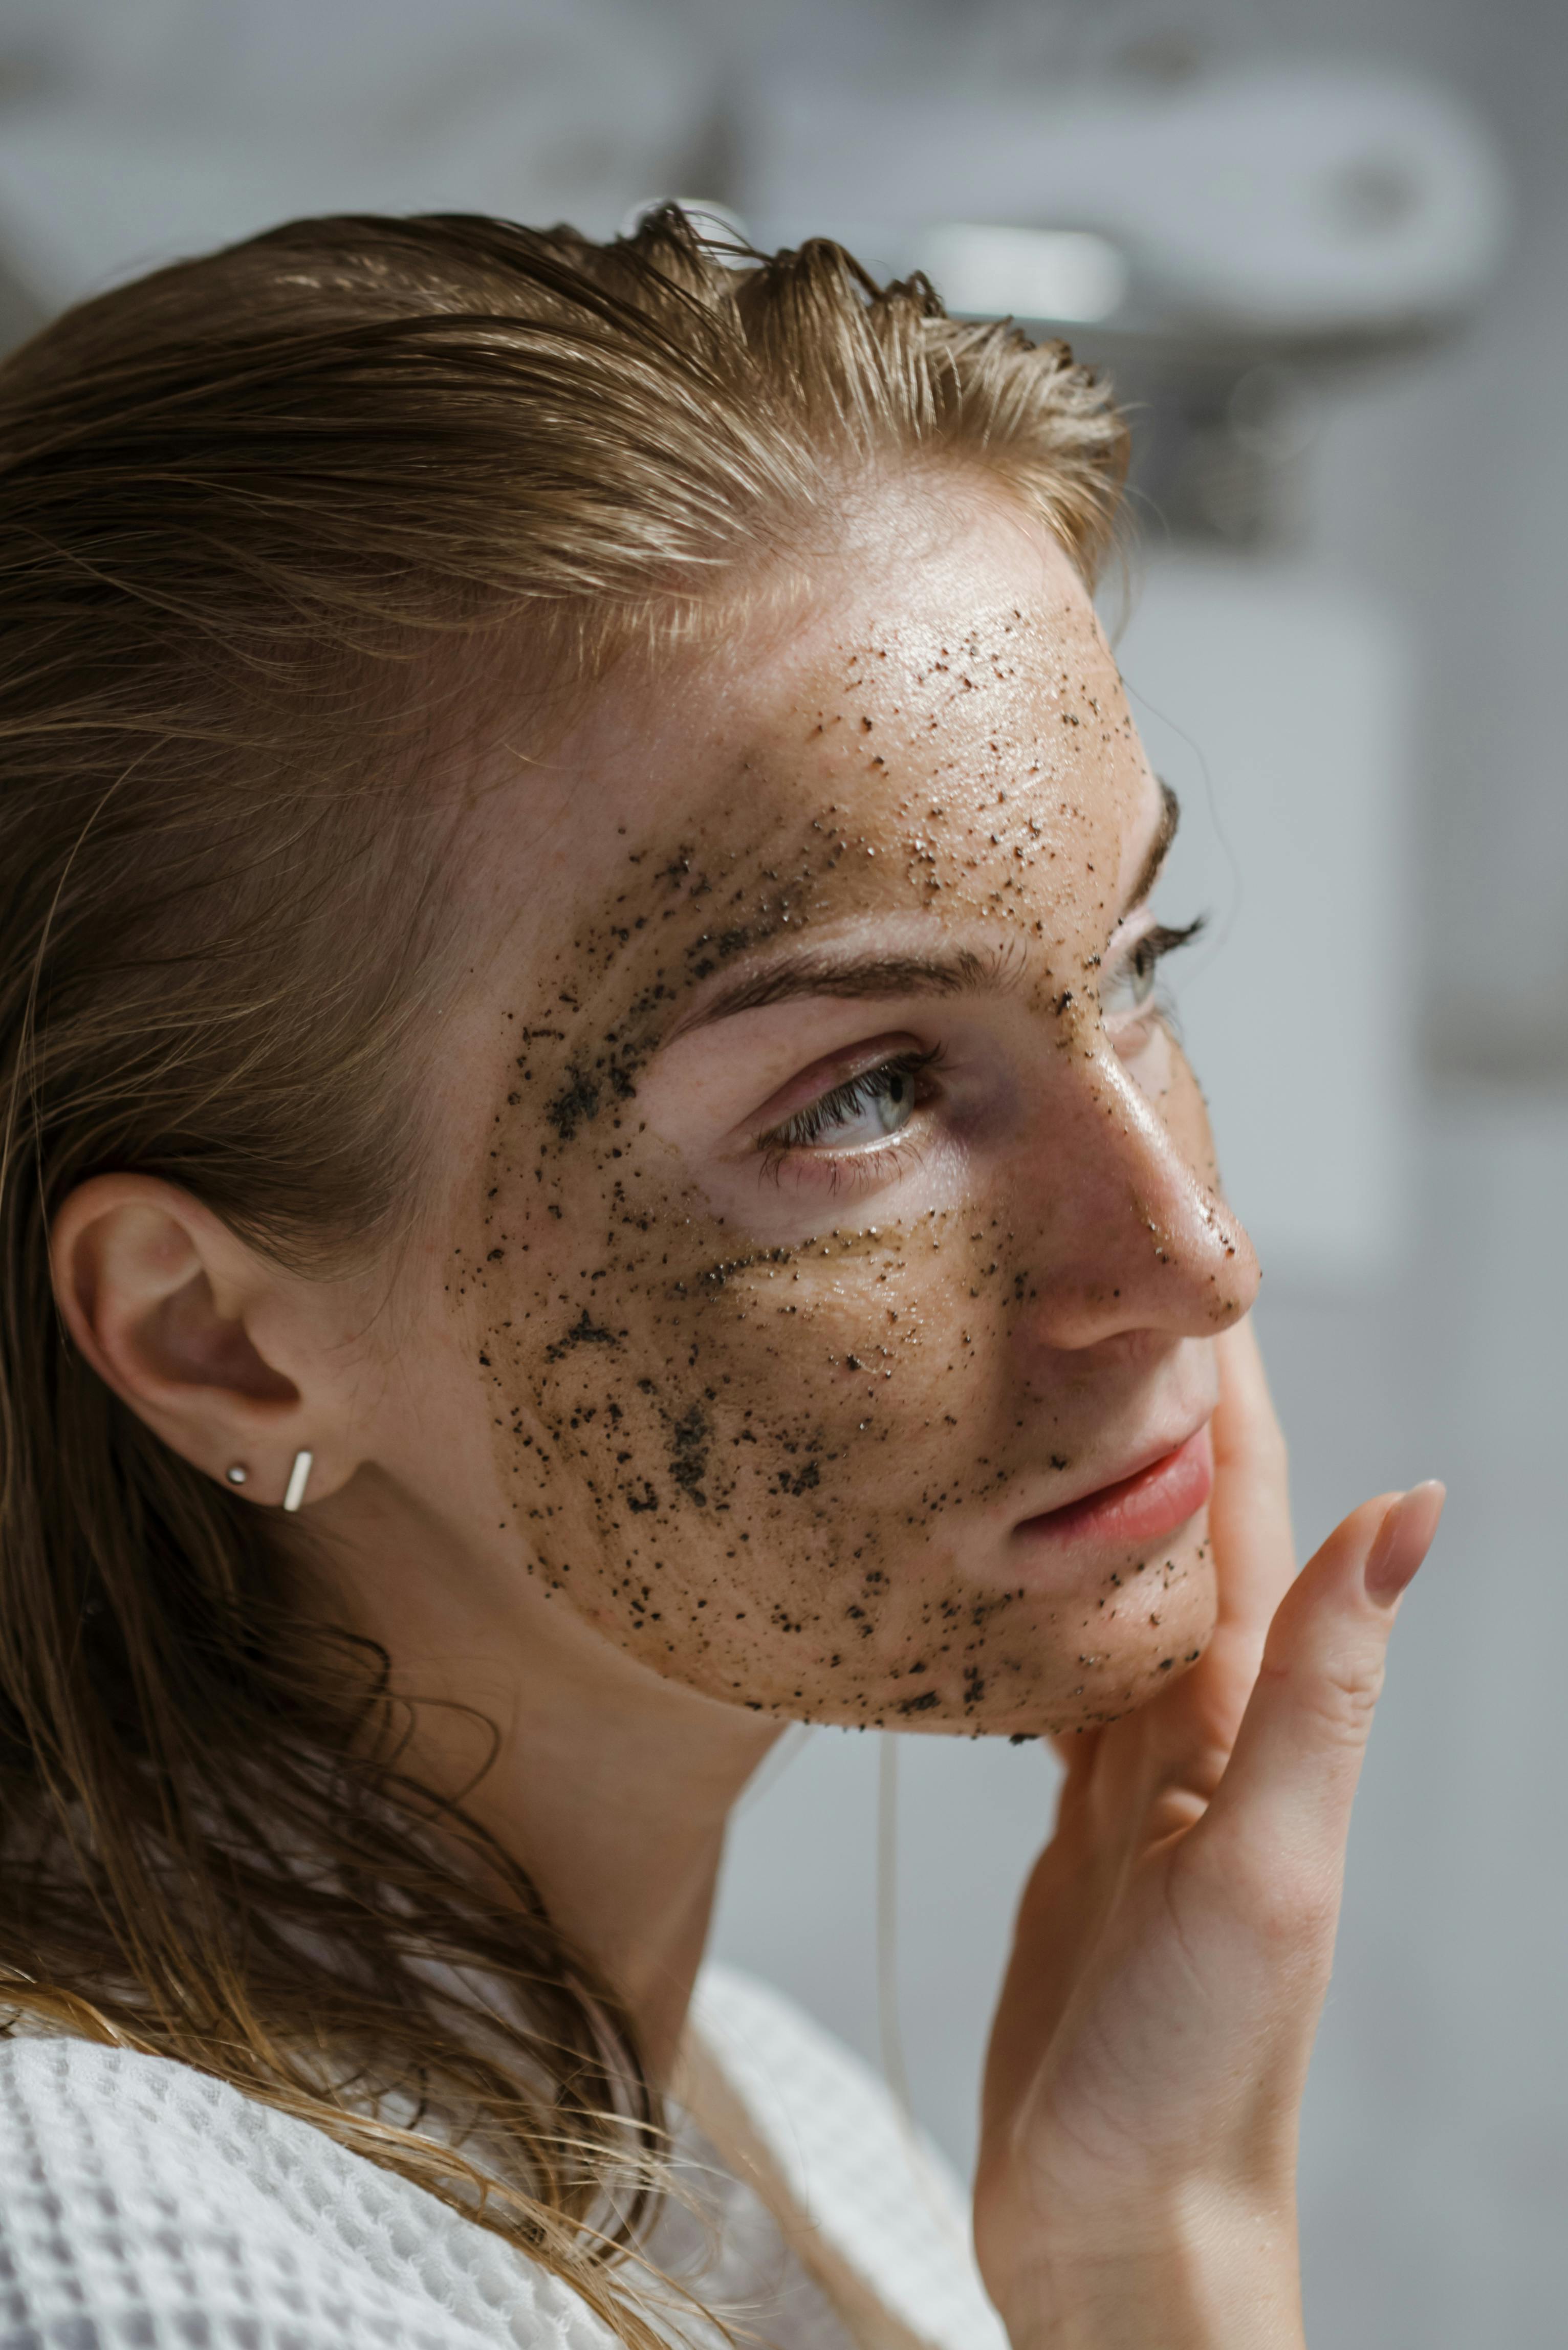
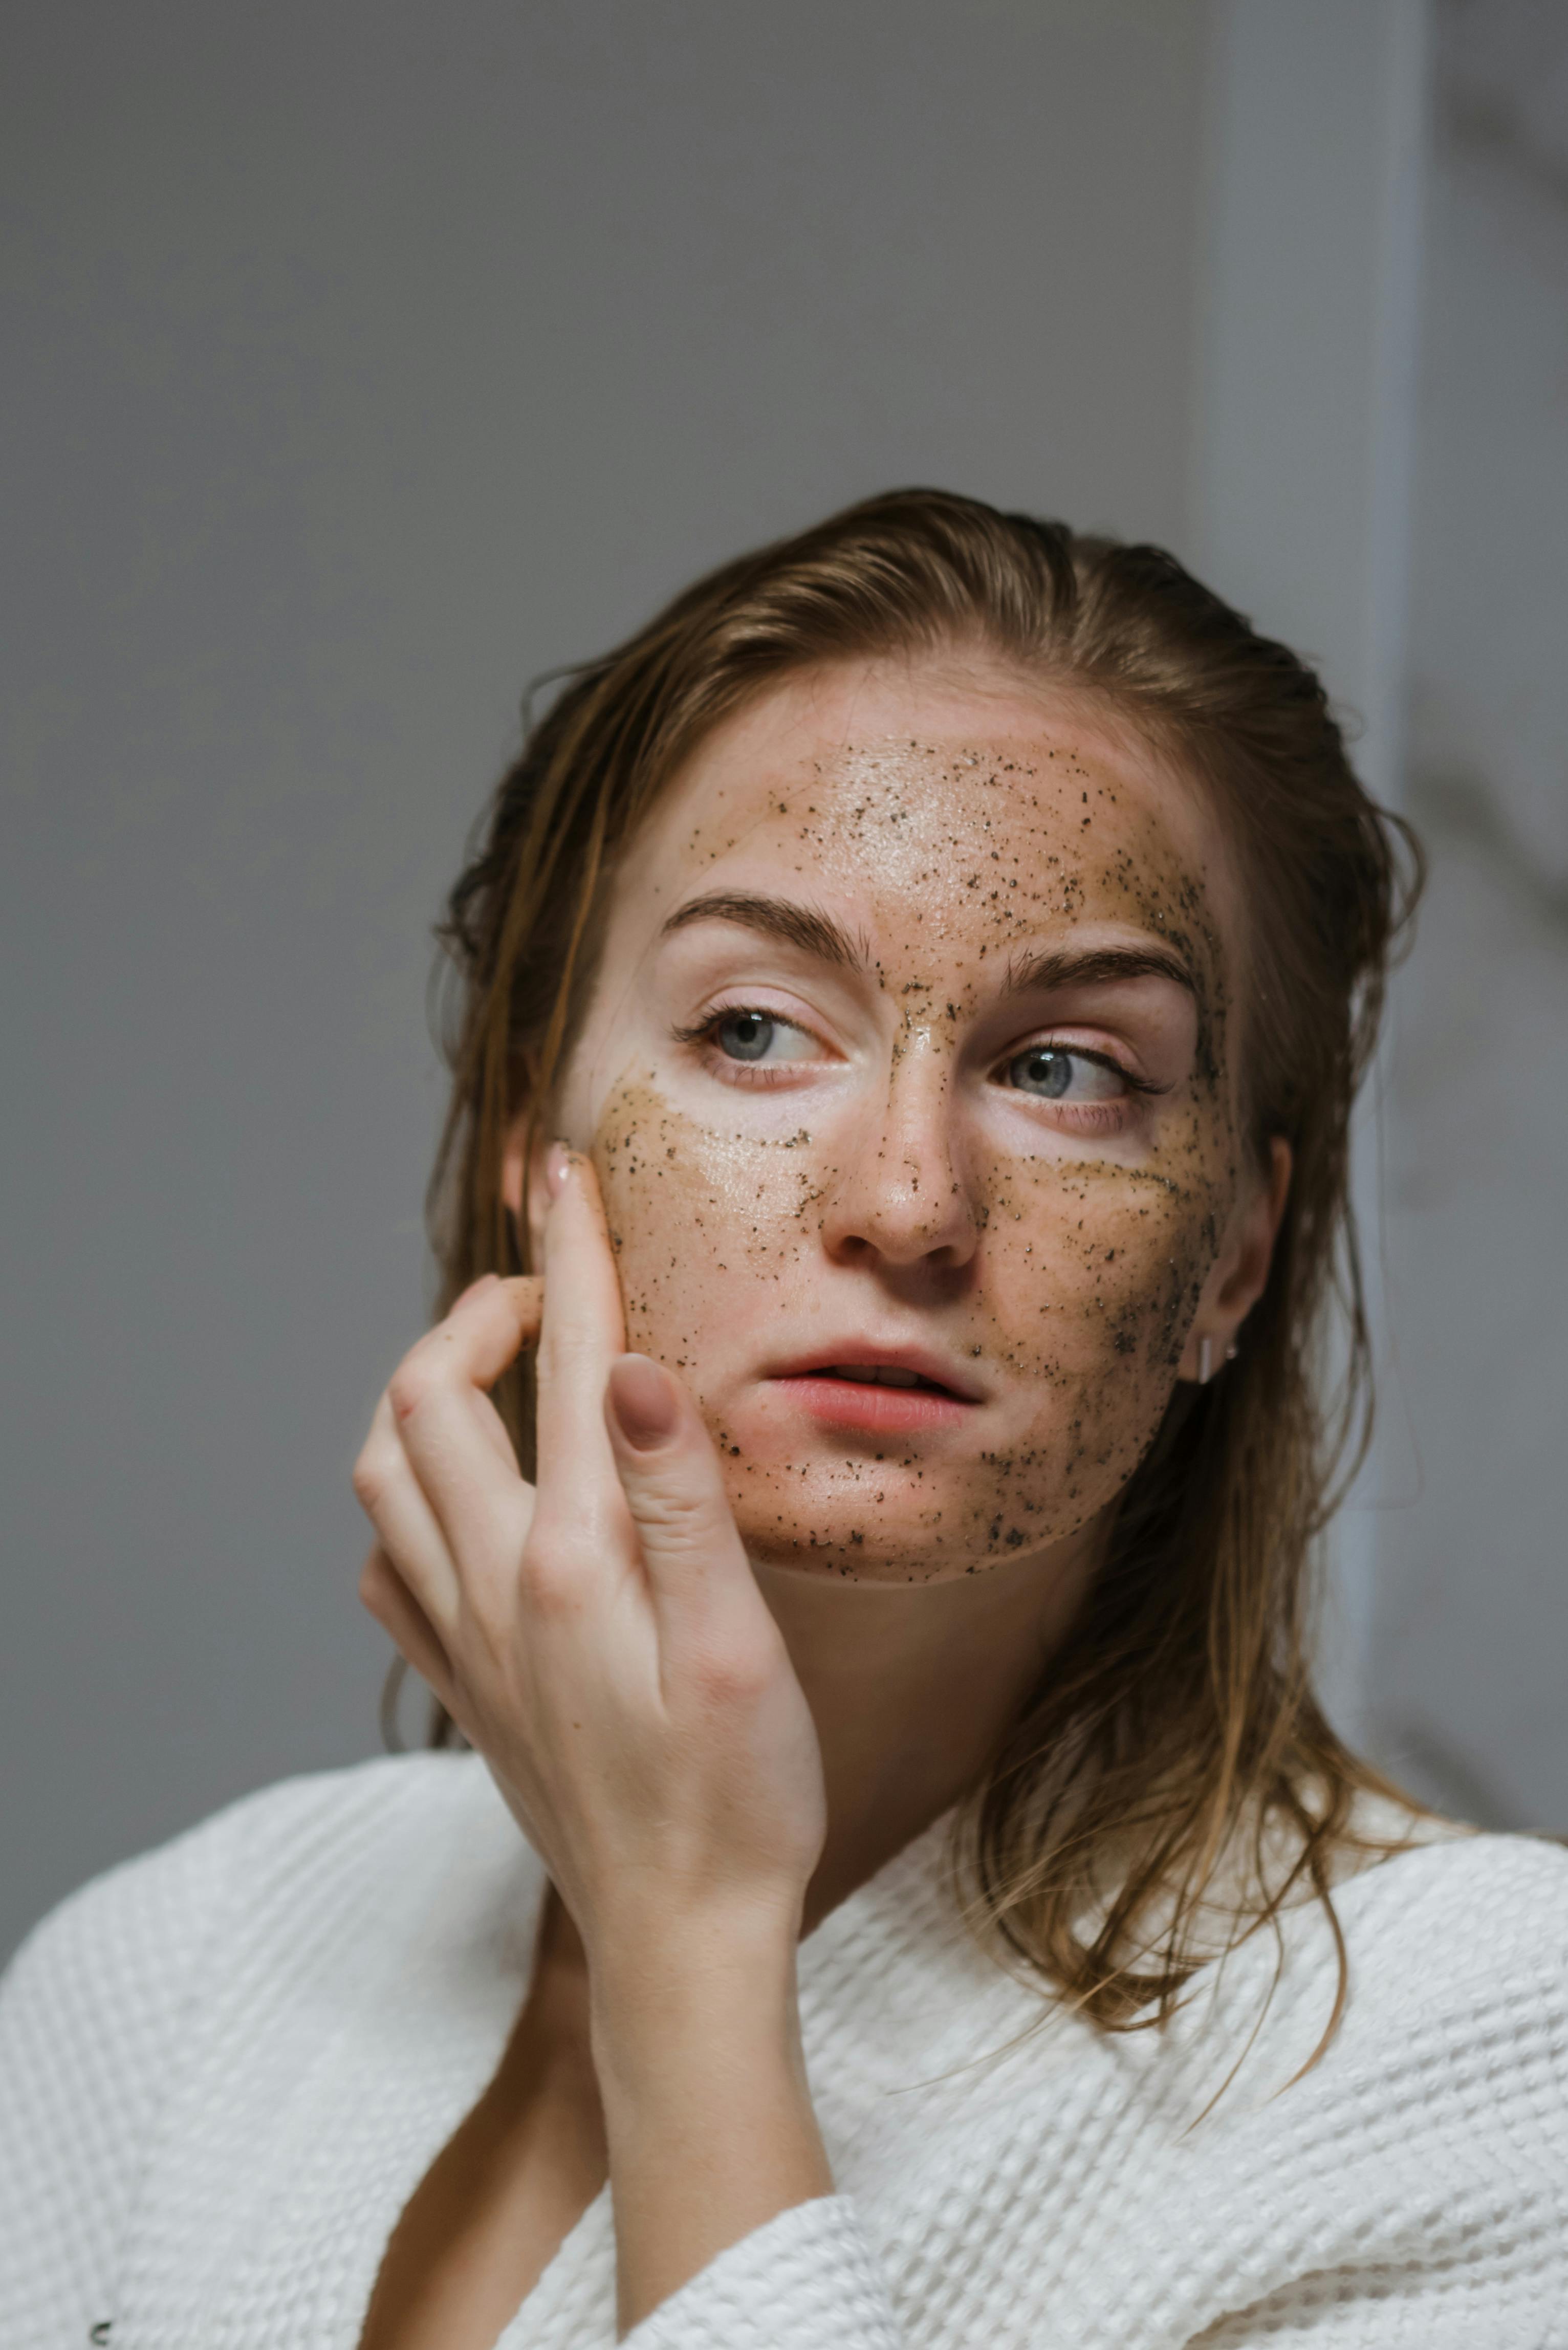
Coffee Facial Step 3: SCRUBBING
The next step is scrubbing. Scrubbing helps in making the skin smooth, soft and shiny by removing the dead skin cells and exfoliating the skin.

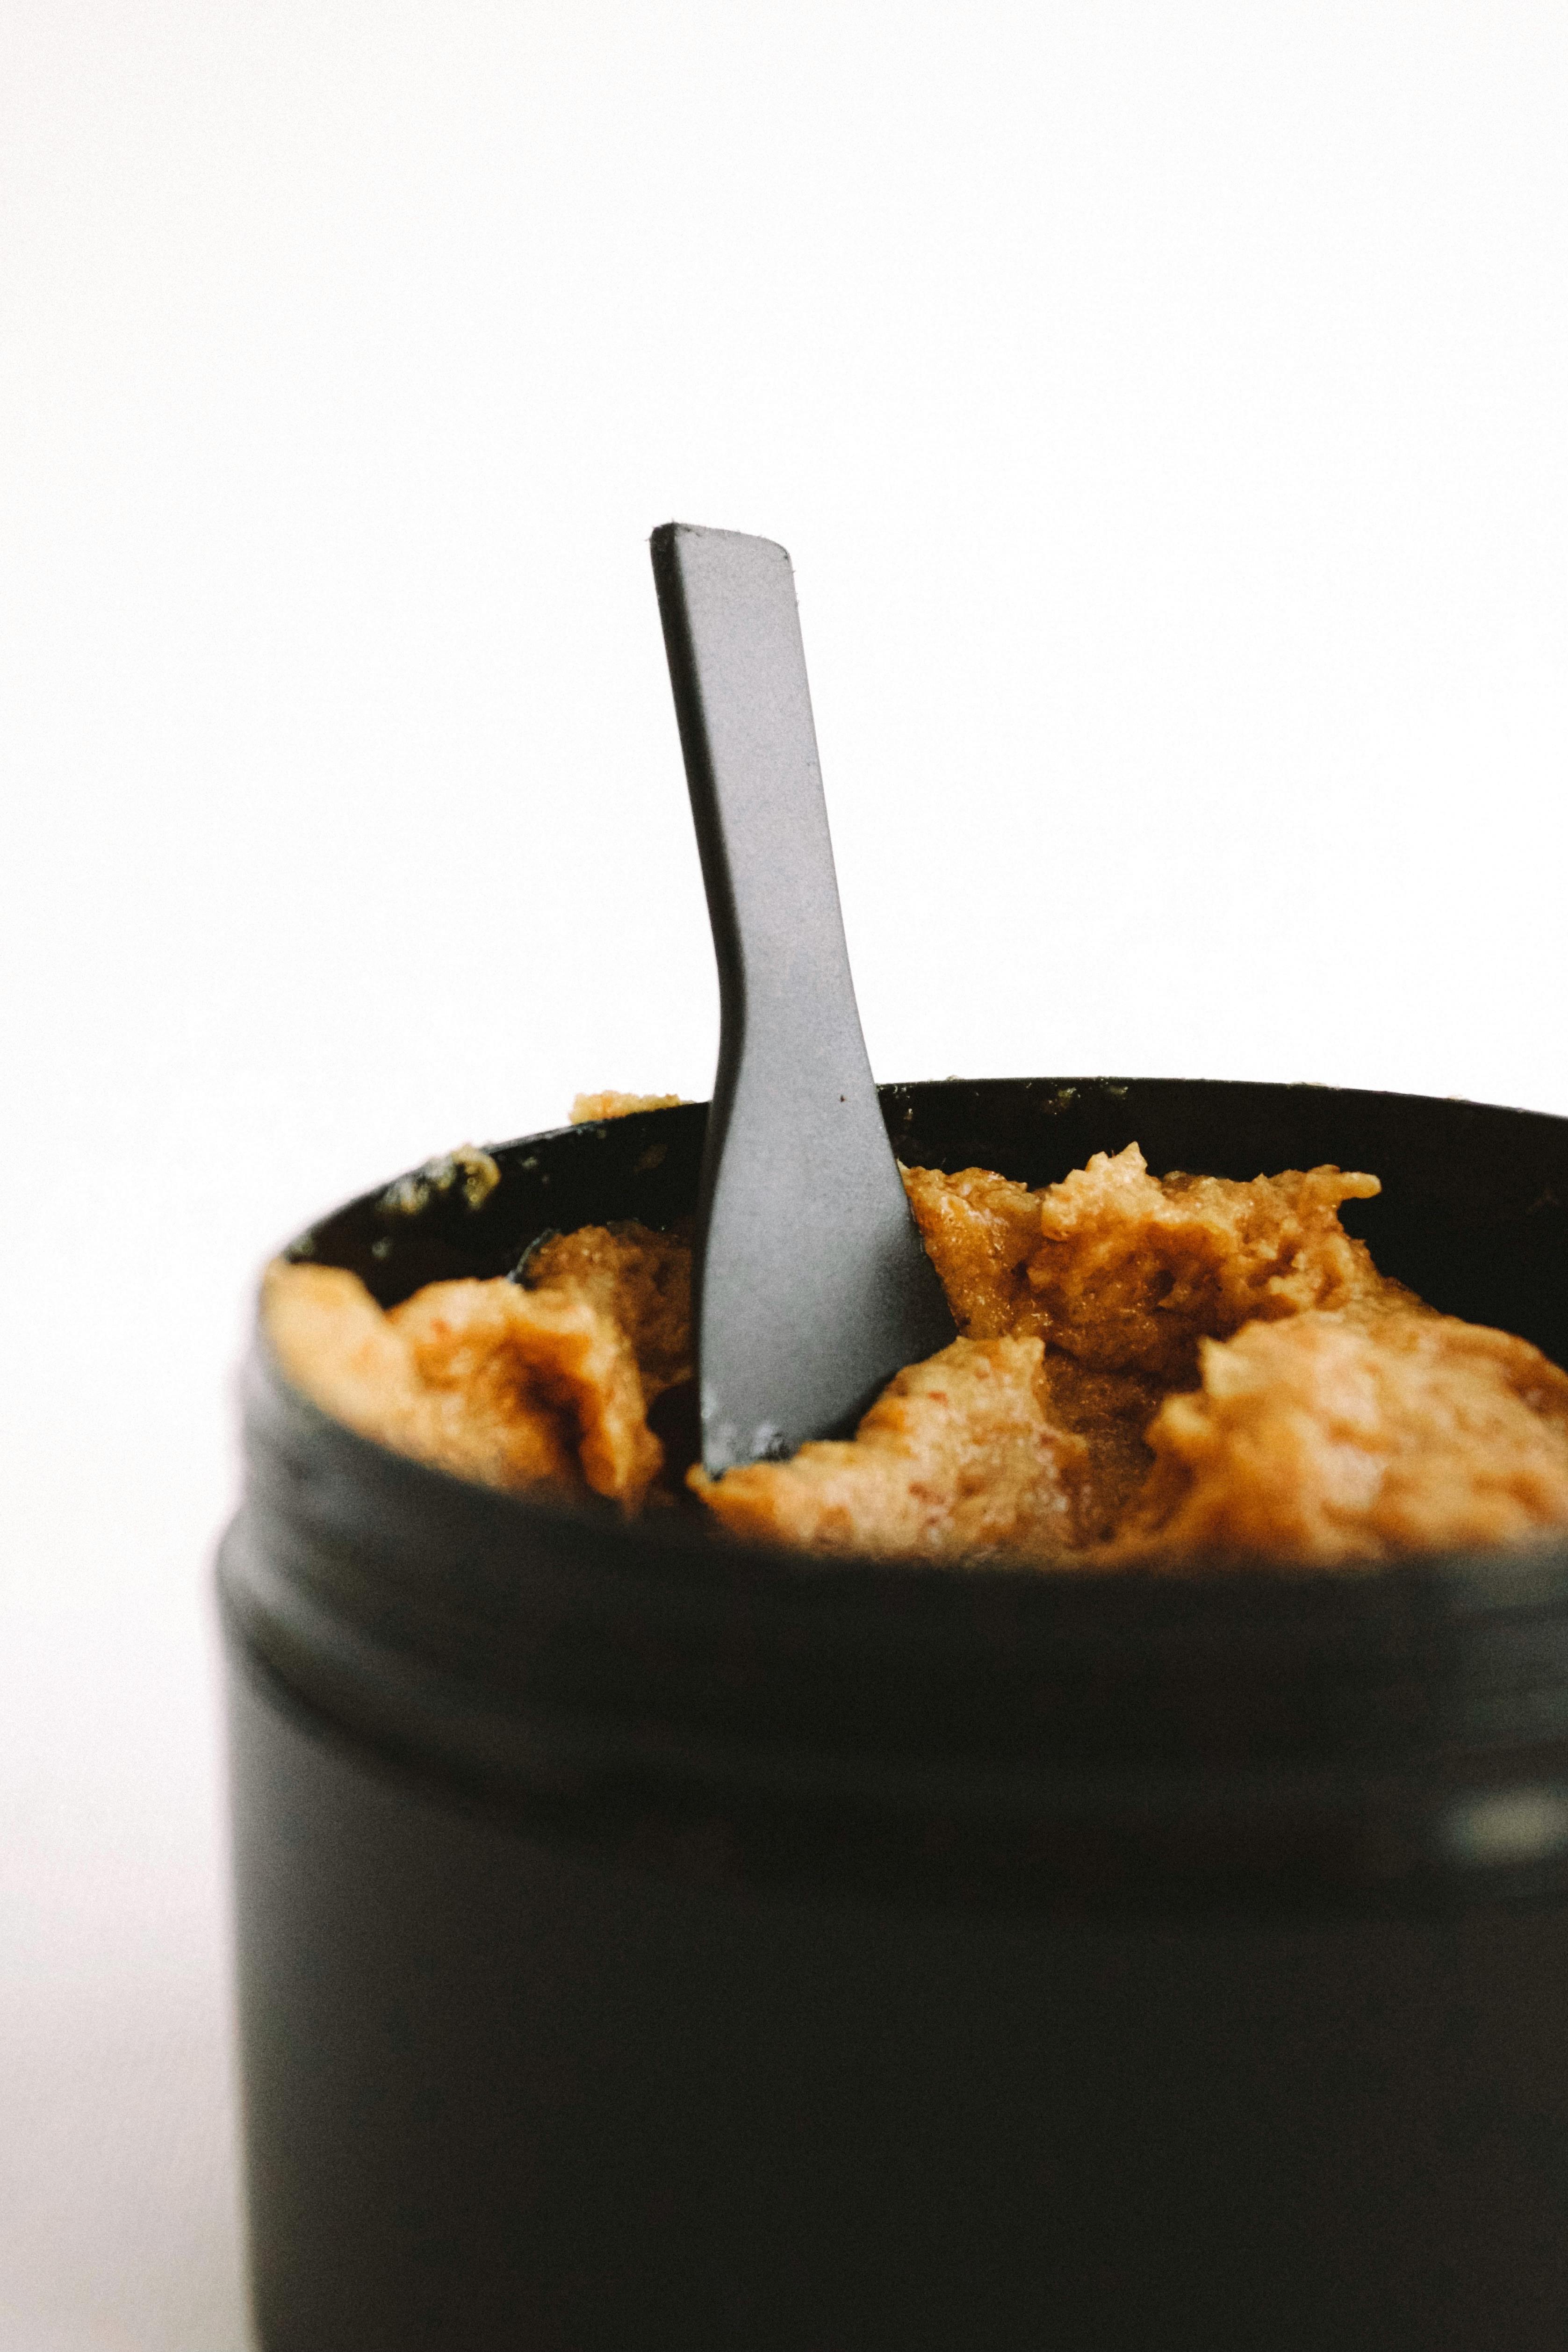
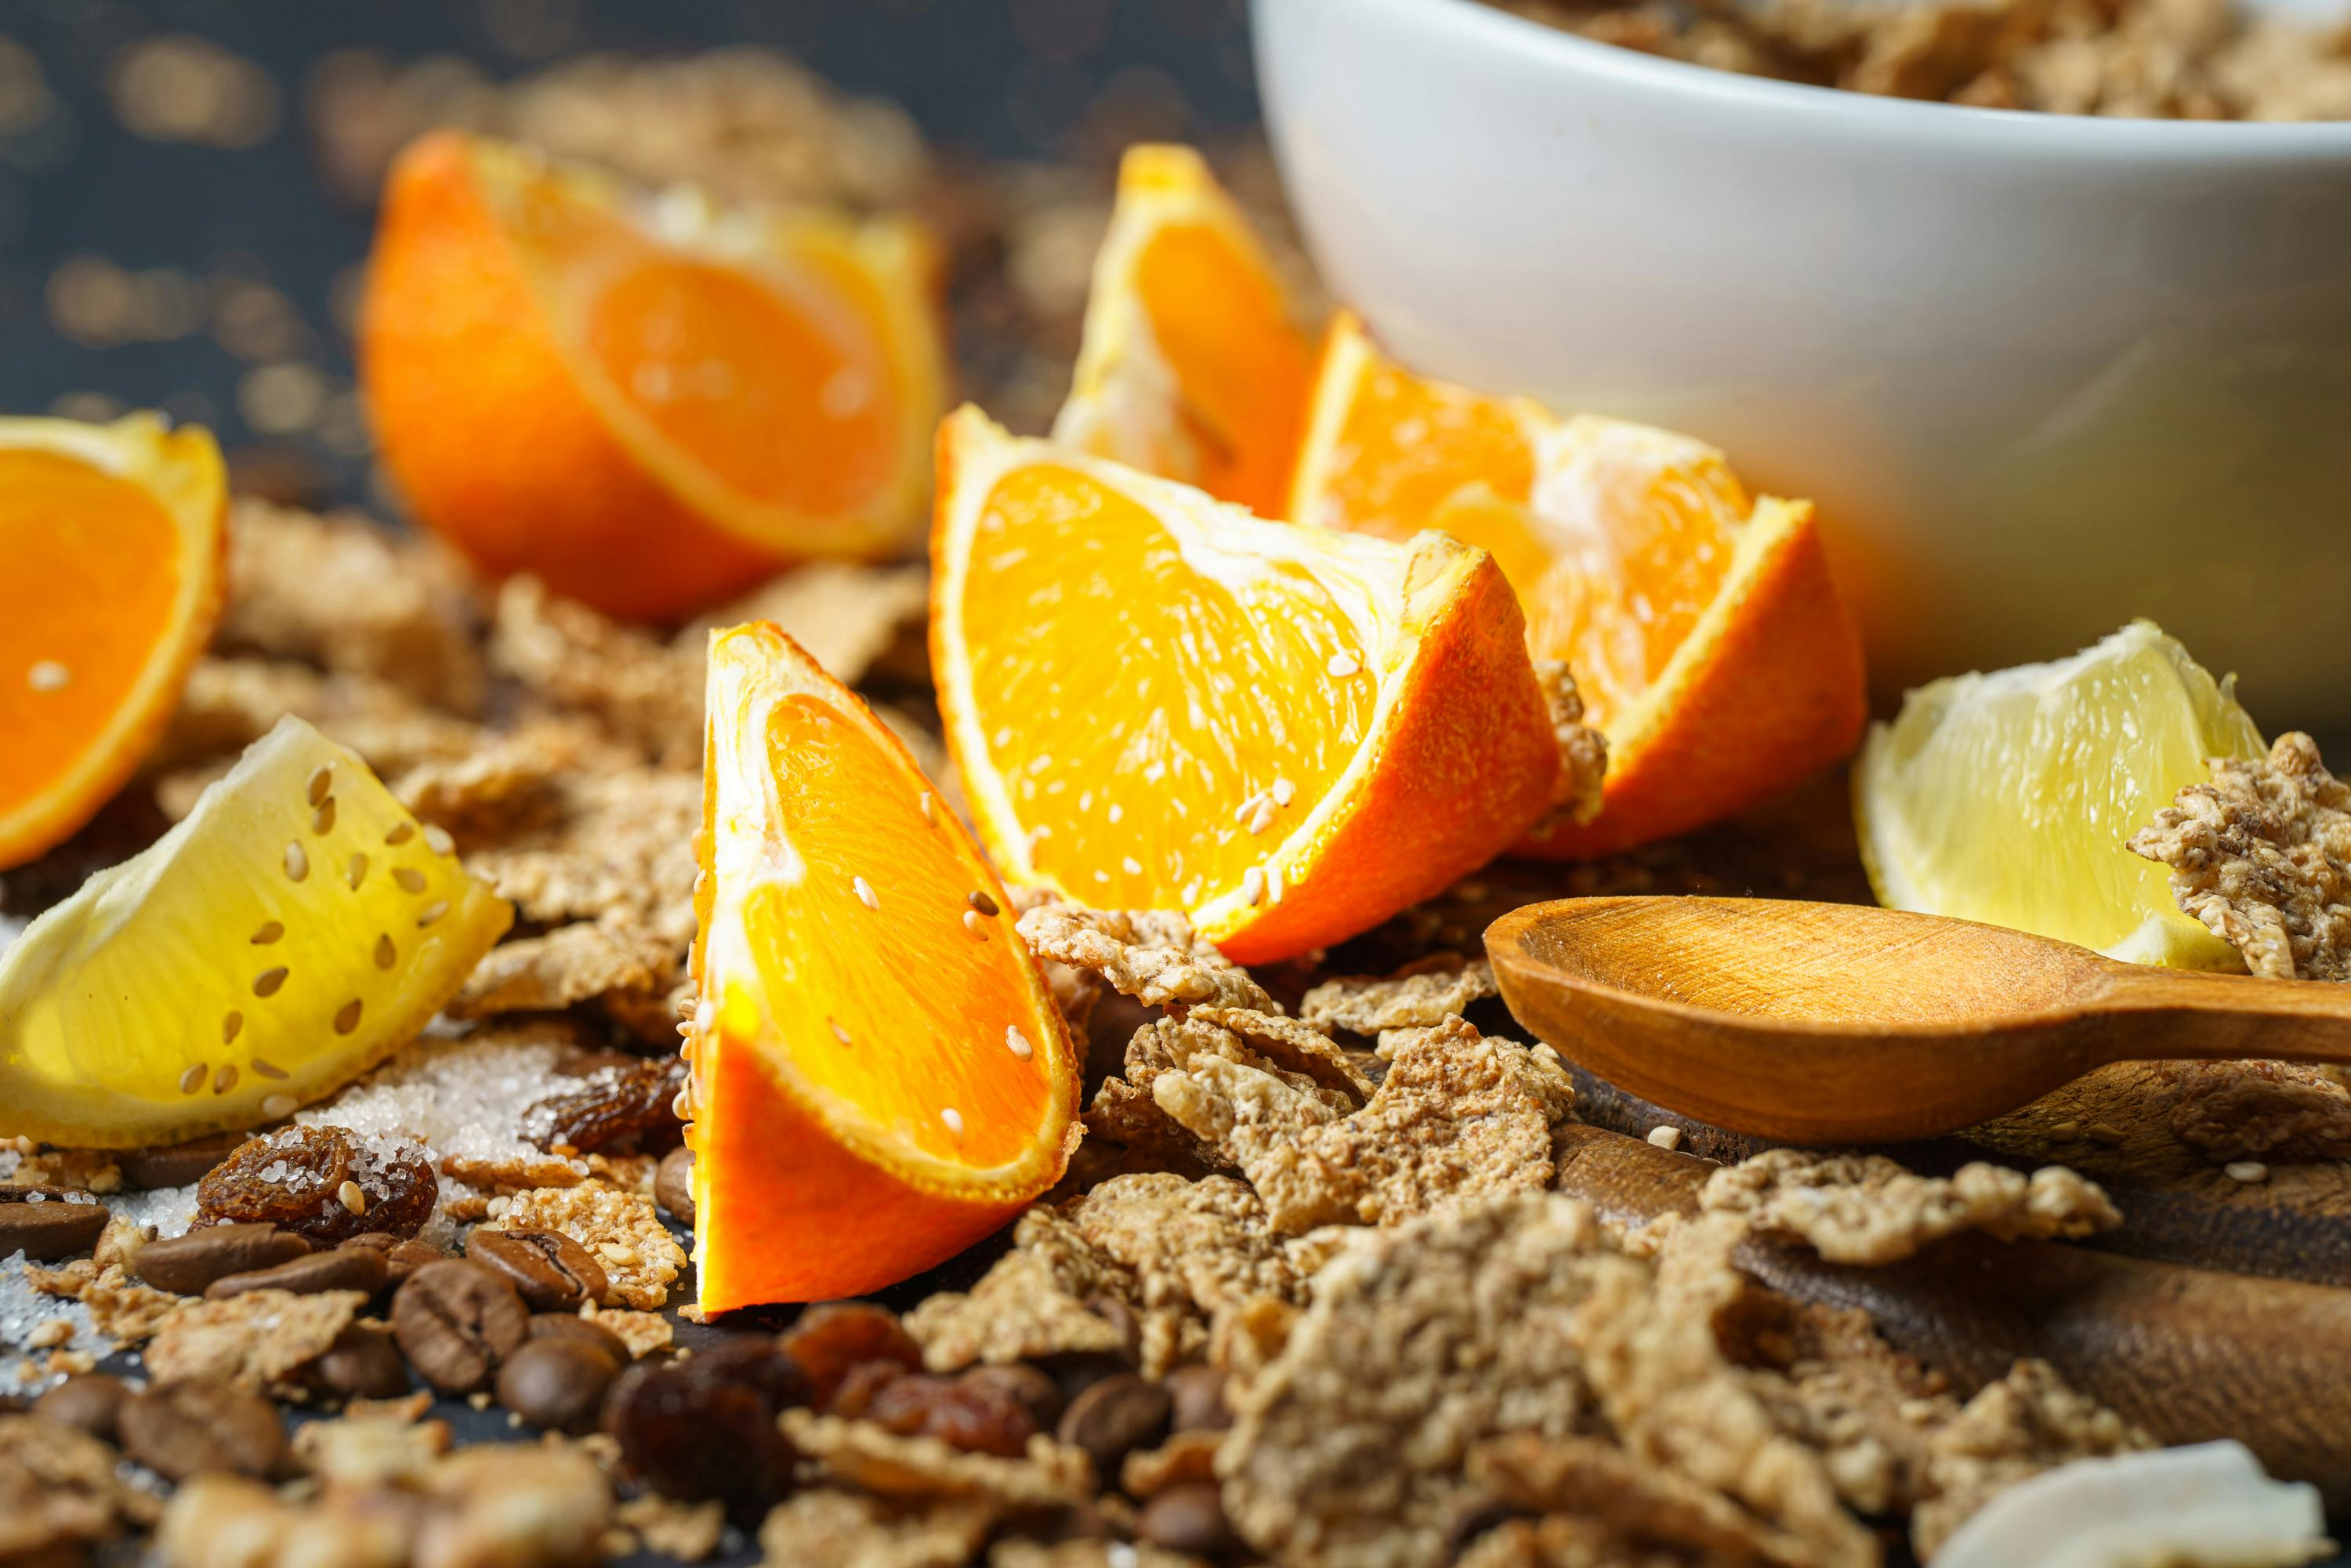
How To Make Coffee Scrub
- In a bowl, take one tablespoon of sugar and one tablespoon of coffee.
- Add two tablespoons of coconut oil to dampen the mixture and stir them well.
- Add one Vitamin-E capsule in it.
- Now, gently scrub this mixture in a circular motion on your face for about 5-6 minutes.
- After 5 minutes, then wash it off with cold water.
This scrub will help in removing the dead cells from your skin, leaving it soft and glowing. This scrub will also help in getting rid of unwanted facial hair if you use this mixture once a week.
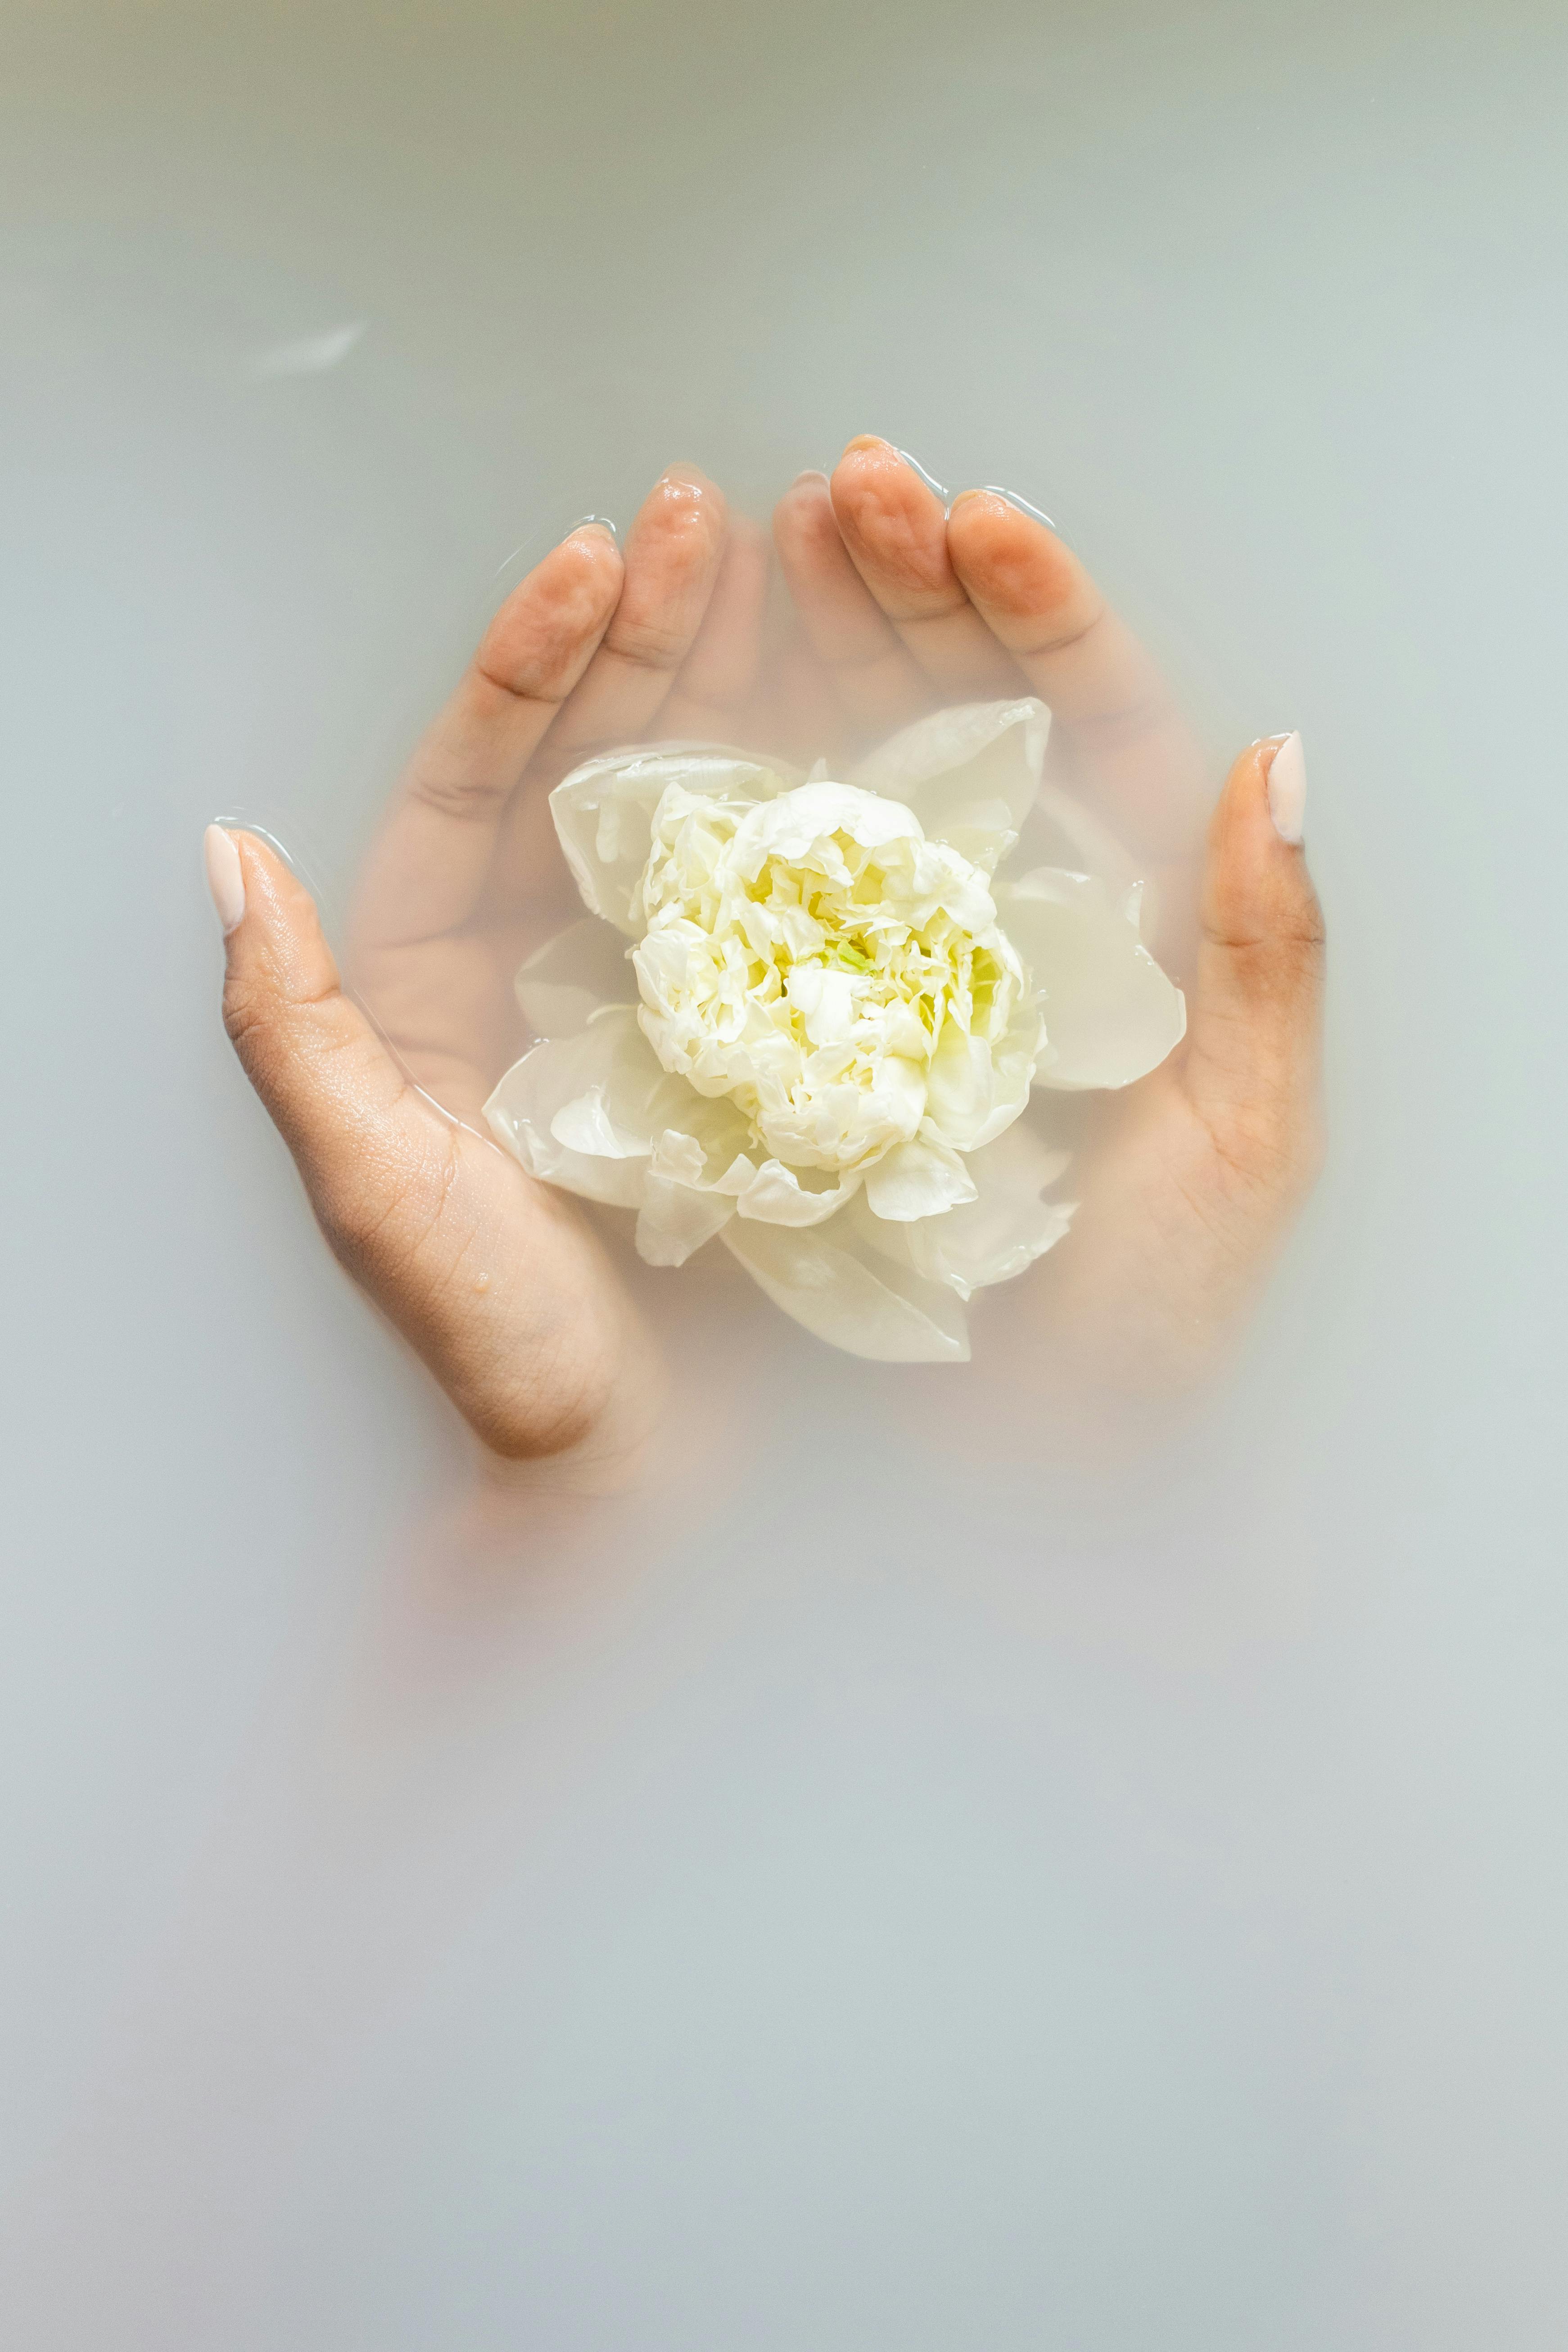
Coffee Facial Step 4: MASSAGING
After scrubbing, it is important to moisturize and soothe your skin.
How To Massage
- Take a massage cream or gel.
- Massage your skin for at least 6 minutes until the cream gets absorbed in the skin completely.
- Wash your face with normal water and dry it with a cloth or paper towel.
Coffee Facial Step 5: FACE PACK/MASK
This step is for the face mask, you are just one step away from having that brighter and glowing skin.
A face mask is the most crucial step in the process of a facial.
Face masks help in removing dirt, other impurities and make the overall appearance of the skin better.

How To Make Coffee Mask
Here are a few coffee-based face masks!
Coffee And Honey Face Mask
- Add one tablespoon of coffee powder into a bowl.
- Add one tablespoon of honey and mix it well with coffee.
- Apply the mask on your face.
- Let dry for fifteen minutes and rinse it off.
Honey contains moisturizing agents, that, when mixed with the coffee can keep your skin moisturized and glowing.

Coffee And Aloe Vera Mask
- Take a tablespoon of coffee powder, add a few drops of Lemon and form a fine paste.
- Apply this on your face and neck.
- Leave it for about 20 minutes and rinse it off.
Lemon contains vitamin C which helps in removing excess dirt from the skin and makes your skin look cleaner and healthier.
Note: Don’t add no more than 2-3 drops if you have sensitive skin.

Coffee And Milk Face Mask
- Mix a tablespoon of coffee powder and one tablespoon of milk, to get a thick paste.
- Apply this paste on your face and leave it for twenty minutes.
- After 20 minutes, rinse it off by gently rubbing it in a slow, circular motion.
Milk contains certain agents that help in increasing the glow of your skin.
Coffee And Sandalwood Face Mask
- Take half a teaspoon of coffee grounds in a bowl.
- Add half a tablespoon of earth fuller powder.
- Add half a tablespoon of sandalwood powder.
- Add one tablespoon of milk and make a thick paste. (You can also use curd if you’re out of milk)
- Apply it on your face and keep it for about 15-20 minutes.
After 20 minutes, rinse your face, pat dry, and moisturize completely.
Conclusion
Coffee has a lot benefits for the skin.
Although it can be harmful if used in the wrong way.
- Don’t scrub your skin too harshly as it can cause irritation.
- Don’t do this if it causes allergy or itching on your skin.
- If you have allergy with any ingredients mentioned above replace them with ingredients that suit your skin.
Also try to focus on eating more fruits and veggies while also keeping your body and skin hydrated.


Leave a Reply